ЕНЕЙ-1(Aeneas-1), a DIY synthesizer
learning to solder through building a moog-style synth
Recently, I embarked on my most epic DIY project to date - a hand-crafted analog synthesizer. This project was a true adventure for me and kept me in high spirits during the COVID lockdown period. On weekends, I enjoy experimenting with various circuit prototypes, and for most of my previous projects, I was content with using a breadboard. However, when my friend Artem showed me a DIY Moog-style synth project, I was inspired to take on the challenge. With clear and easy-to-follow instructions from lonesoulsurfer, we were able to assemble our very own Moog-style synthesizers. BTW Artem builds many other DIY projects, his last project is a wireless sustain pedal.
A brief note about the project’s name. ENAY-1, or Aeneas in English, is named after the main character in the famous Ukrainian burlesque poem “Eneida,” written by Ivan Kotliarevsky. This book was one of my favorites from my childhood, where Kotliarevsky draws parallels between the Trojan heroes and Ukrainian Cossacks.

Getting back to the Moog-style synth. This project holds a special place in my heart as it combines my two passions - TTS (text-to-speech synthesis) and playing the piano. Creating a voice synthesizer from text is my day job, making this DIY project all the more exciting and relevant to my interests.
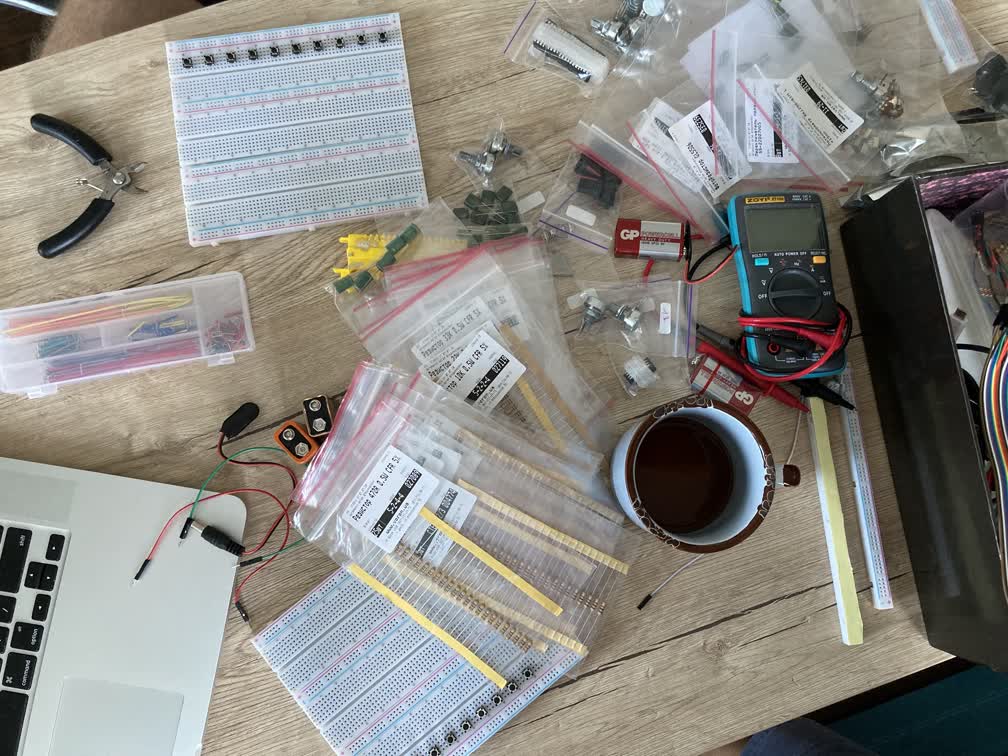
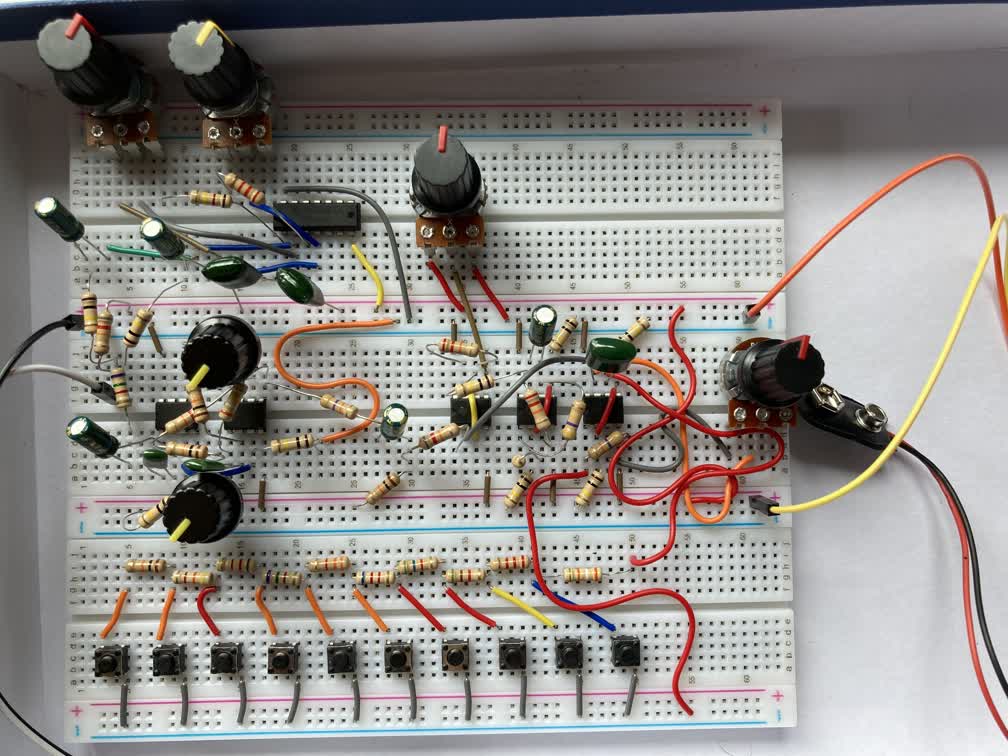
The synthesizer has 10 keys, spanning almost a full octave, and includes exciting features such as light dependent resistors and a PWM pot that allows for control over the shape of the waveform. This project was a thrilling experience that pushed my limits and expanded my knowledge of DIY electronics.
Assembling the breadboard prototype was relatively easy. This project was educational on multiple levels and allowed me to deepen my understanding of physics. I was driven by my curiosity to learn more about the nature of sound and waveforms. I believe that projects like these would be highly beneficial for students in physics classes, as they provide a hands-on approach to learning that builds a strong foundation for future engineers and inventors.
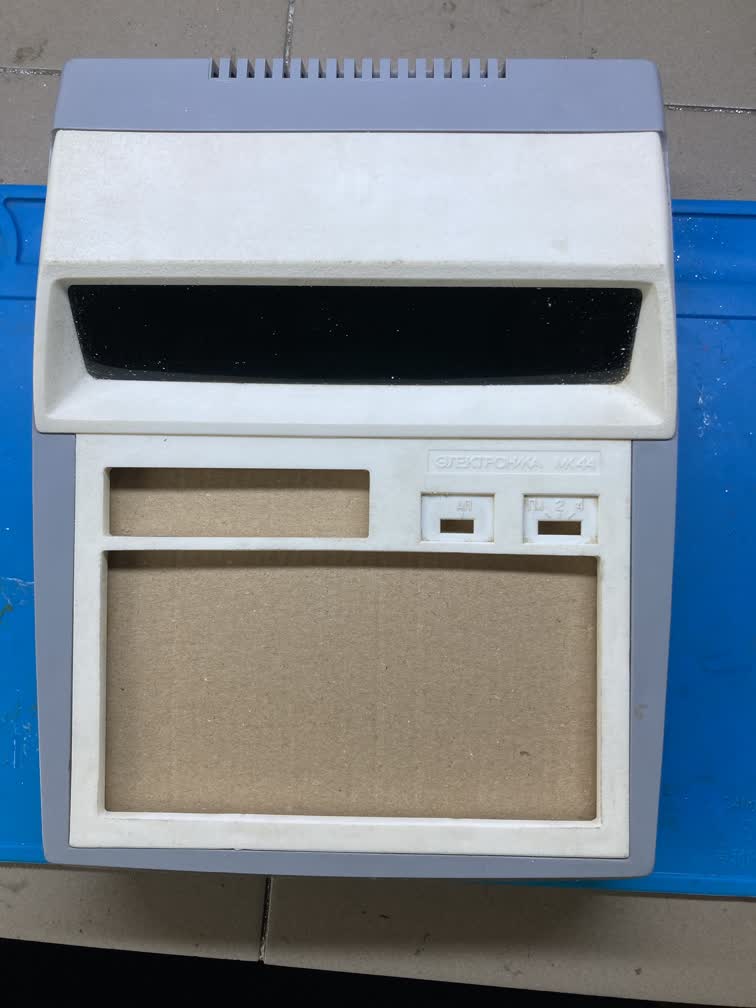
Eager to continue my journey, I searched for a unique enclosure for my synthesizer. I found an old Soviet calculator for only $5 and repurposed its high-quality plastic case to serve as the housing for my creation. This project was not only a learning experience, but also a fulfilling and creative endeavor.
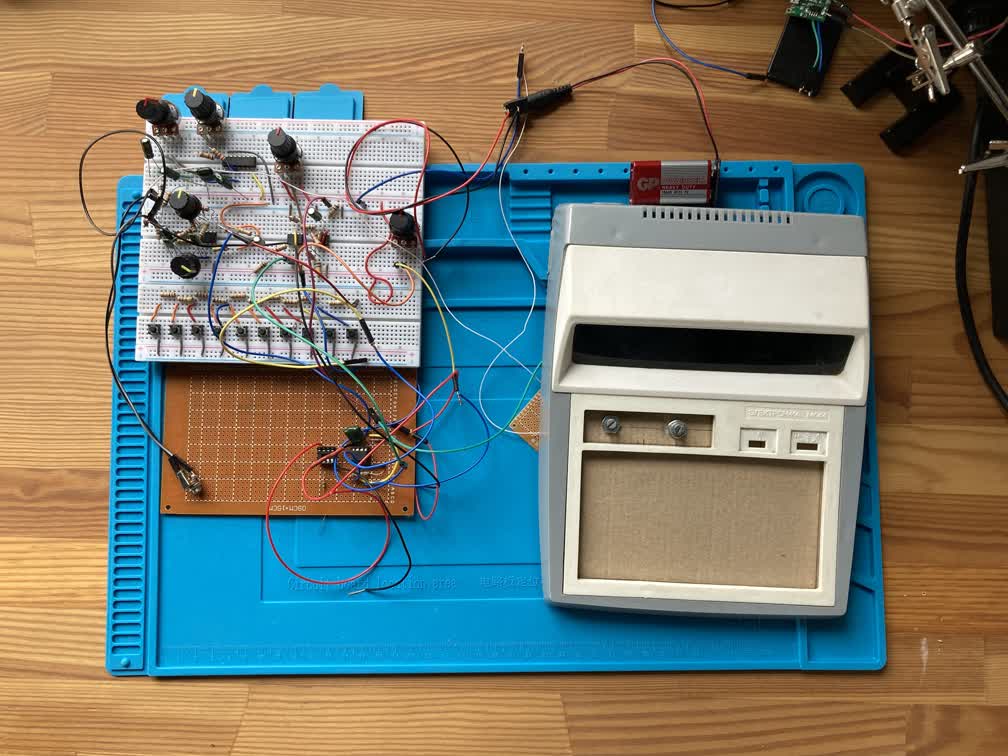
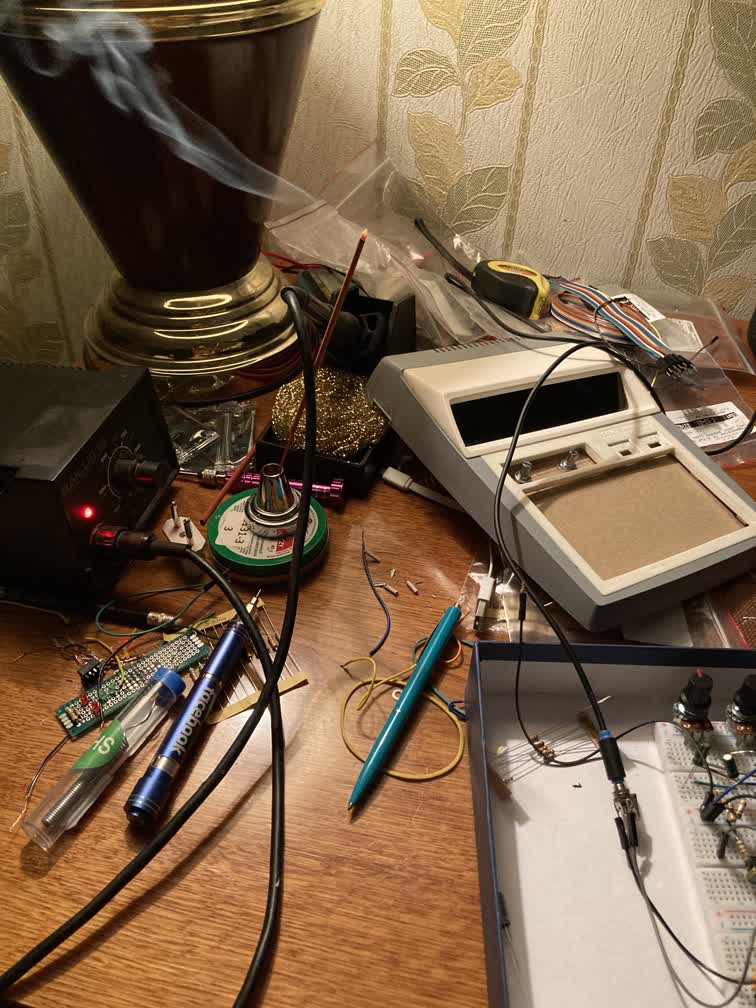
I had no prior experience in soldering, but I had always wanted to learn this skill. Admittedly, this first soldering project proved to be a challenging task. Initially, I planned to move each module from the breadboard to the soldering board, but then I realized that it would be much easier to build two separate units - one as a reference and another to solder module by module.
Debugging the arpeggiator circuit was a difficult task, but it taught me a lot about the 555 timer, which I now consider to be the most versatile IC (integrated circuit) I have ever worked with.
Completing this project would have been impossible without the support of the hacker space in Kyiv, HackLab. The friendly community of makers and hackers there provided invaluable guidance, showing me how to use modeling software Rhino and a laser cutter to create an acrylic front plate for my synthesizer. Their support and expertise played a crucial role in bringing my project to life.
Lastly, here is the result of my work in action. I’m quite pleased with it and look forward to participating in a jam session. With this synthesizer, it’s possible to create some psychedelic and immersive sounds. Check it out in the video below.
I really hope that soon I’ll continue my journey building DIY synths. If you’re interested in building something similar, don’t hesitate to reach out to me. I’ll be happy to assist. Cheers!